Be prepared. This blog contains images that some may find disturbing.
That's right, gentle readers. I finally got my keister in gear and did a makeup test.
But first - a little about what we're doing with the clock.
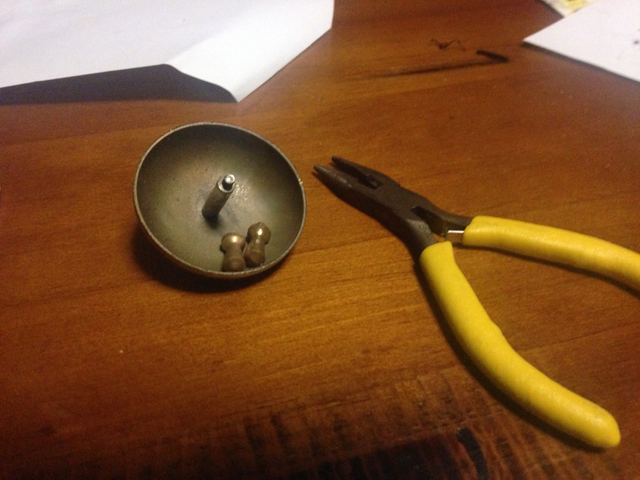
 [Shown here: clock bits]
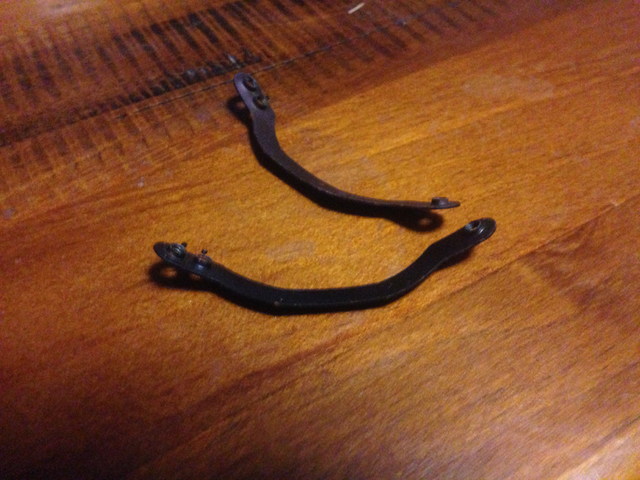
First, we took off the bell and the two brass feet so we could remove those weird little bracer things. They'd just get in the way.
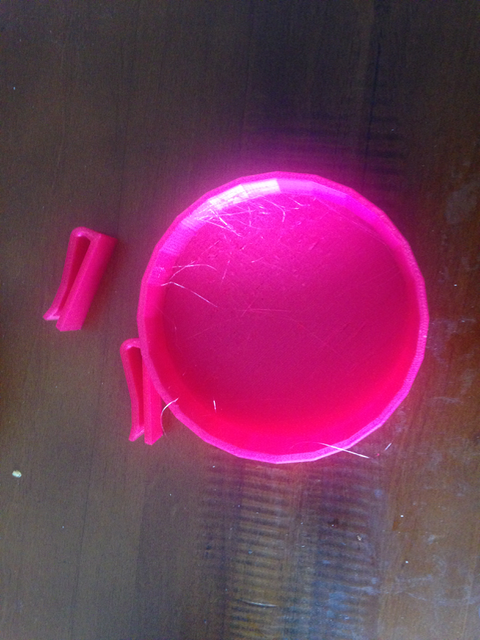 [Shown here: Red clock insert and belt clips]
This is the result of some hours of drafting and printing. Looks like we got that printer just in time.
The belt clips will be superglued to the clock face.
 [Shown here: clock insert inserted into clock. With belt clips]
The gluing will happen later. As you can see, the printed clock insert fits very neatly into the clock without buggering up the mechanism inside.
 [Shown here: test "photo" on the left and star "photo" on the right]
I've also been up to some forgery, as well. The old "Iron it to turn it yellow" doesn't seem to work on poster card. I only ironed the test piece, at varying temperatures. Even on Linen setting, it only got a little yellowed in the middle.
Fortunately, I have some really cheap tea. Painting and drying tests will happen today.
And now for the disturbing part of this blog:
 [Shown here: My ugly mug]
Voila. Your humble and rather unphotogenic author in all hir disgusting morning glory.
 [Shown here: Implements of mess]
 [Shown here: Accessories]
 [Shown here: Appliance and glue]
I'm going to use these to turn myself into an even uglier robot. Some of this stuff, like Prosaide and Synwax, are things I have never used before. So the learning curve promises to be steep.
 [Lesson one: I'm even scarier without eyebrows]
Synwax needs a metal tool to extract it from its casing. The more you play with it, the stickier it gets.
Today's lesson was: Get it into shape, let it cool, then apply to face. And applying in blobs gets a lumpy, bumpy finish that one can't do shit about.
But it's just a test, today.
 [Lesson two: just outline the firkin eyebrows ffs]
I drew on my face with an eyeliner and then with Face and Body black. This is also just after I blacked my neck and ears.
This was just so I knew what I was colouring in and where.
 [Lesson three: Do all the rust effects before you apply the final colour]
TAG makeup works best with a moist sponge. Sure, you can use a dry one, but it takes forever to slather it on.
I have stipple sponges, but for the overall rusted metal look - apply metalics with a stencil brush. It stings a bit, but the final result is gorgeous.
 [Lesson four: align the prosthetic to the eye, not the nose, dummins]
Yes, that is a zipper in my right ear. It's little touches like that that make or break a character IMO. My idea of stencilling in a mesh effect proved to be bad, so I just blacked out my cheeks.
I must remember to do lowlights and highlights for the bronze jaw.
I'm going to have to buy copper and a butt-load of black. Sigh.


 [Shown here: Serial hugger]
Yeah, my resting bitch face reads as tired as fuck.
Pondering bright firkin red lipstick instead of the black. It might read better. Then I paint an outline in black.
I have not applied hairspray to fix it. The makeup seems to be reasonably well-behaved. We shall see how well it stands up to a sweaty Queensland Autumn day.
As always, any hints and tips towards doing a better job next time are appreciated.