Making Clip-Ons

A 19-post collection

Artsy Fartsy part 4! Whenever I do something ambitious like the wind chimes, I unwind by doing a bunch of simple transfers. It helps my...

Artsy Fartsy part 4!

Whenever I do something ambitious like the wind chimes, I unwind by doing a bunch of simple transfers. It helps my morale immensely and increases the earring count.

The Photos:

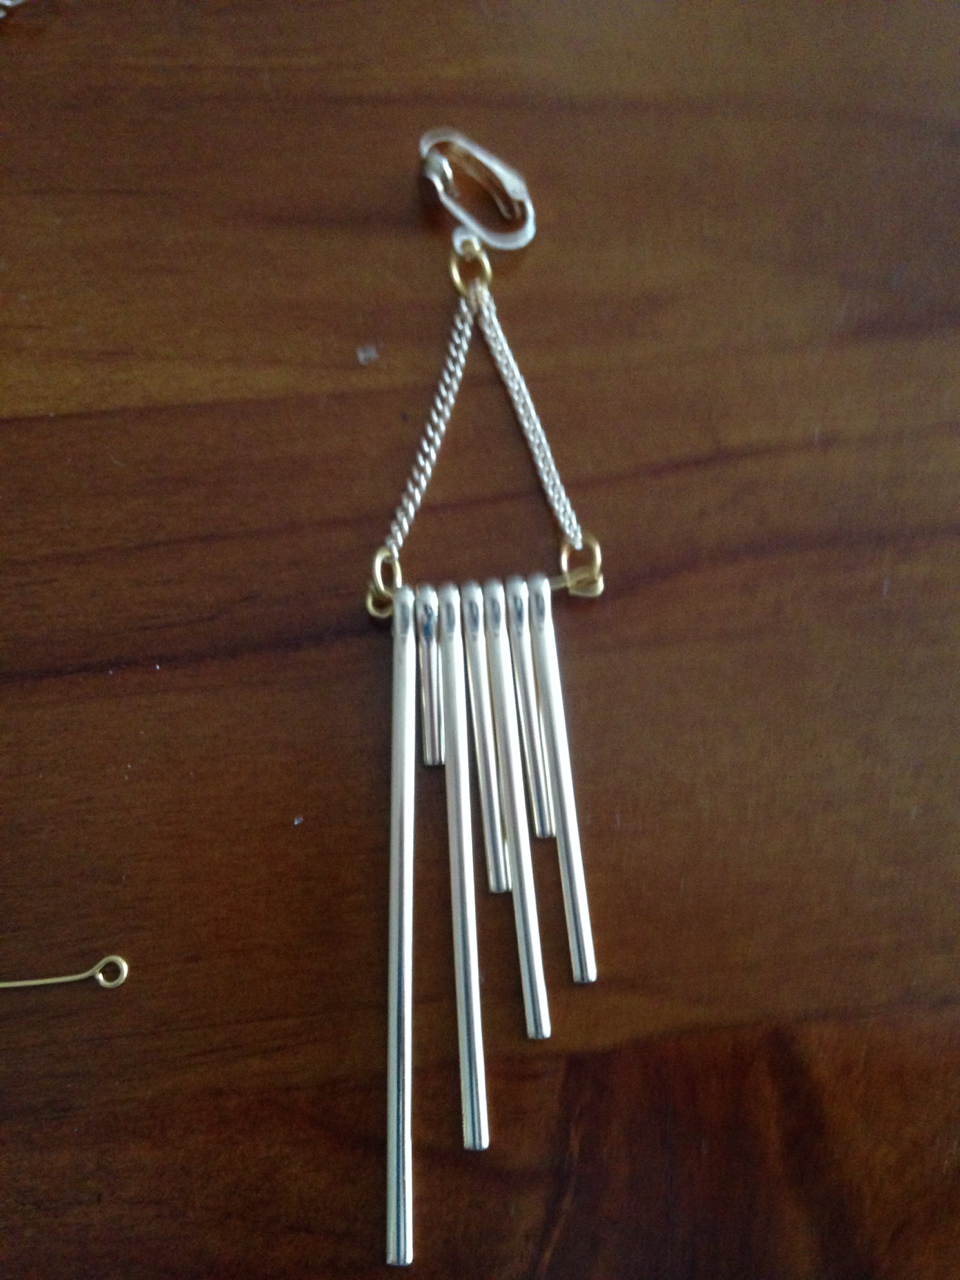
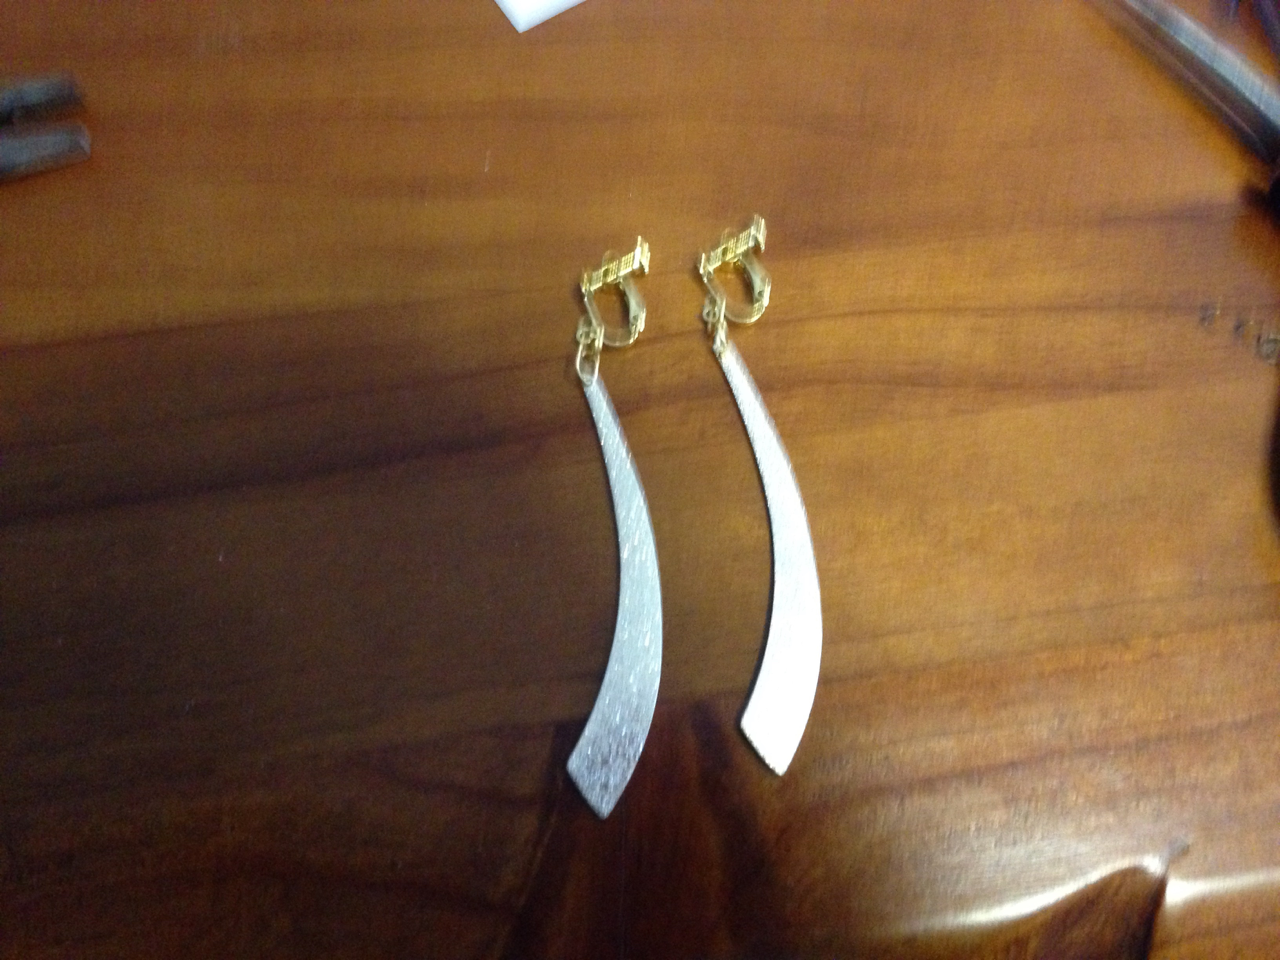
  1. The finished wind chime earring at long last. Those nicely-arranged chains took about five goes each to hang right.

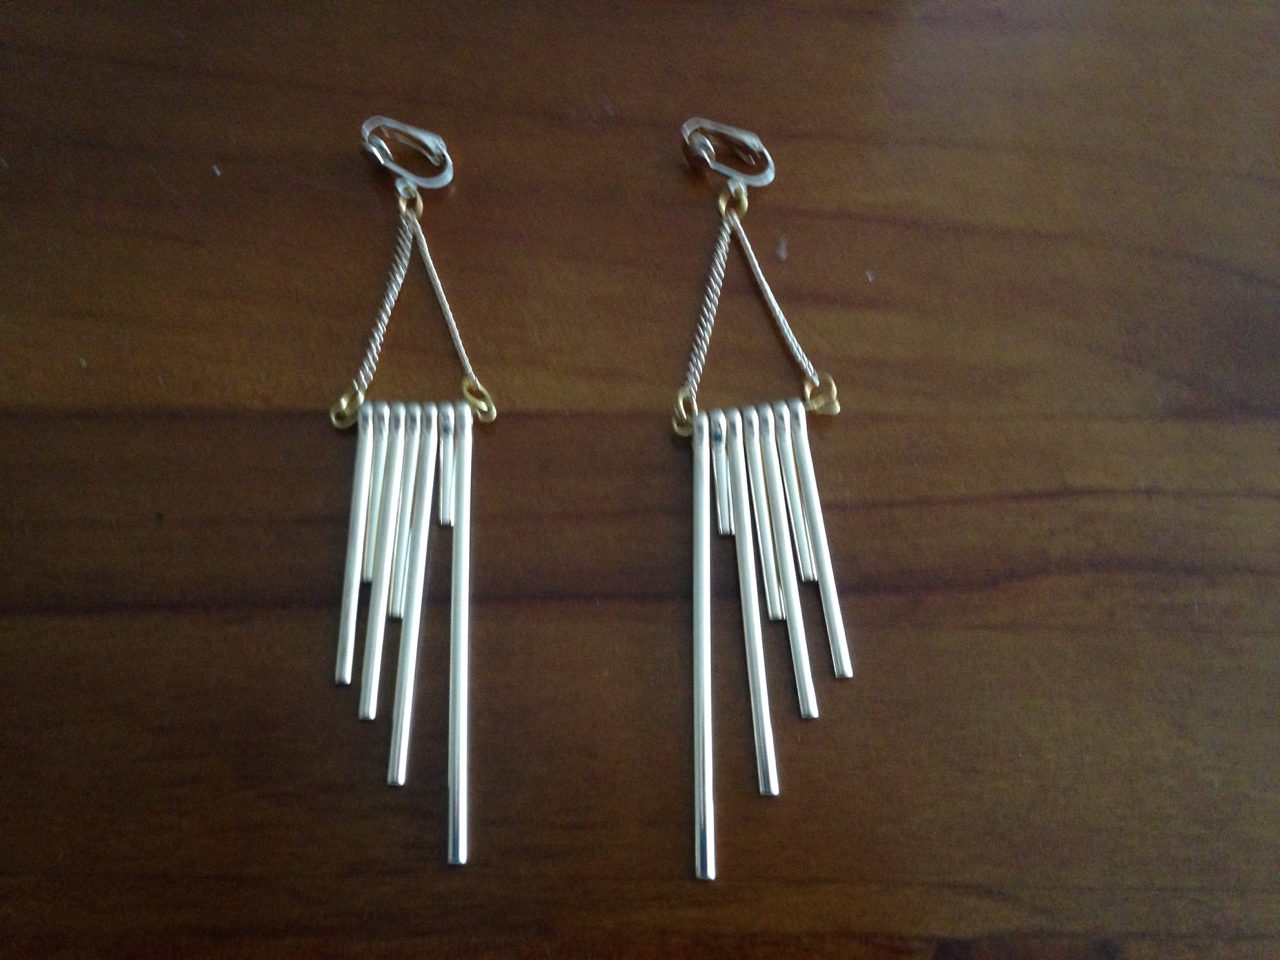
  2. The finished pair has symmetry because I find symmetry satisfying

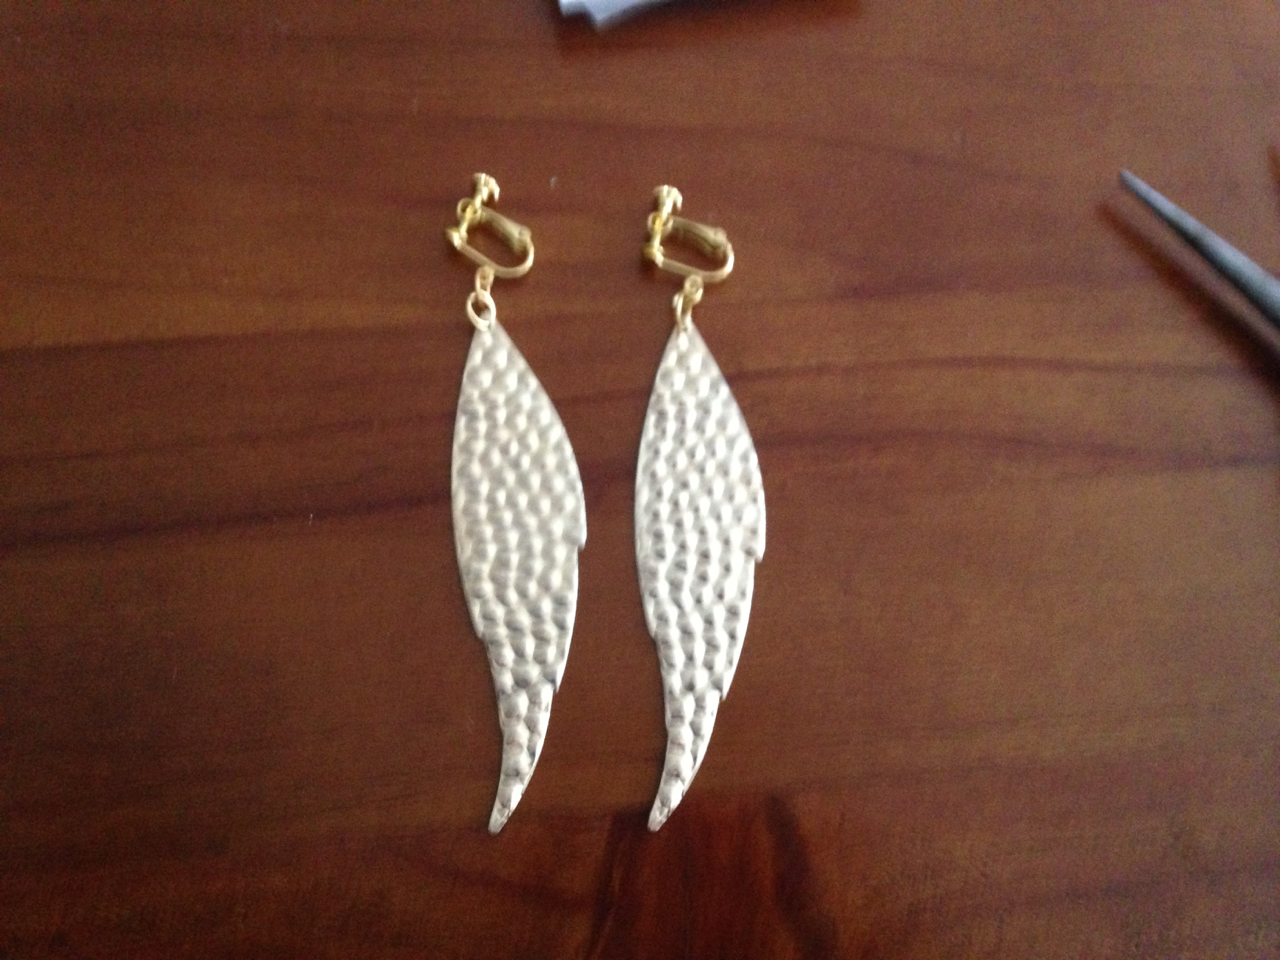
  3. Swapped pendant earrings are almost imperceptible from the originals

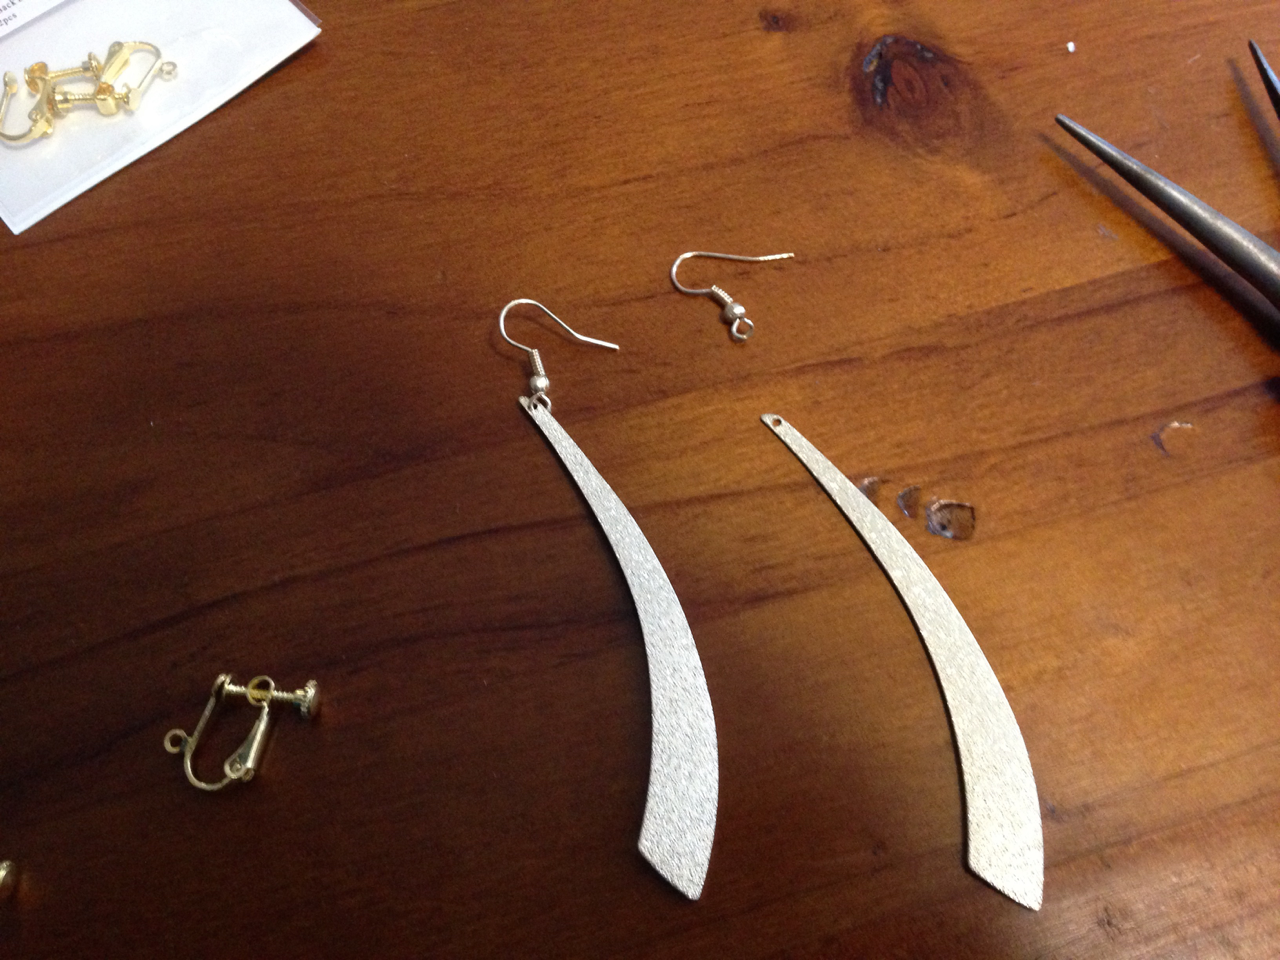
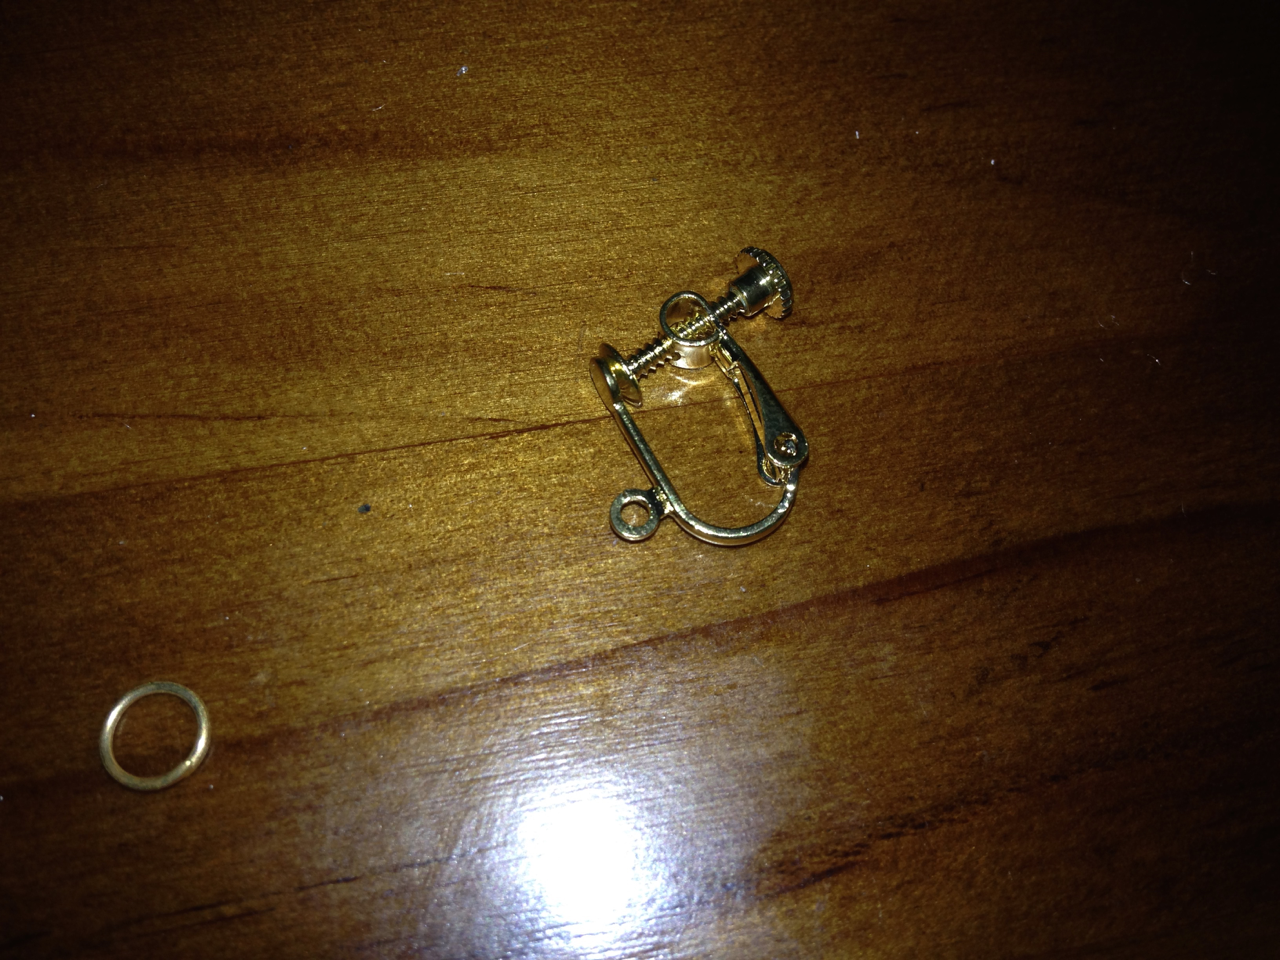
  4. The process goes thus: pick your bits to match, where possible

  5. Disconnect the pendant from the hook. This will bugger the hook beyond usability, but we don’t care about that

  6. Attach your clips. You may need a couple of rings to make sure it hangs right

  7. The screw-on clips pictured here are hybrids, meaning the wearer can adjust them for the best balance of comfort and hold. Beware of the ‘pure’ screw-on clips. They are a pain in the arse

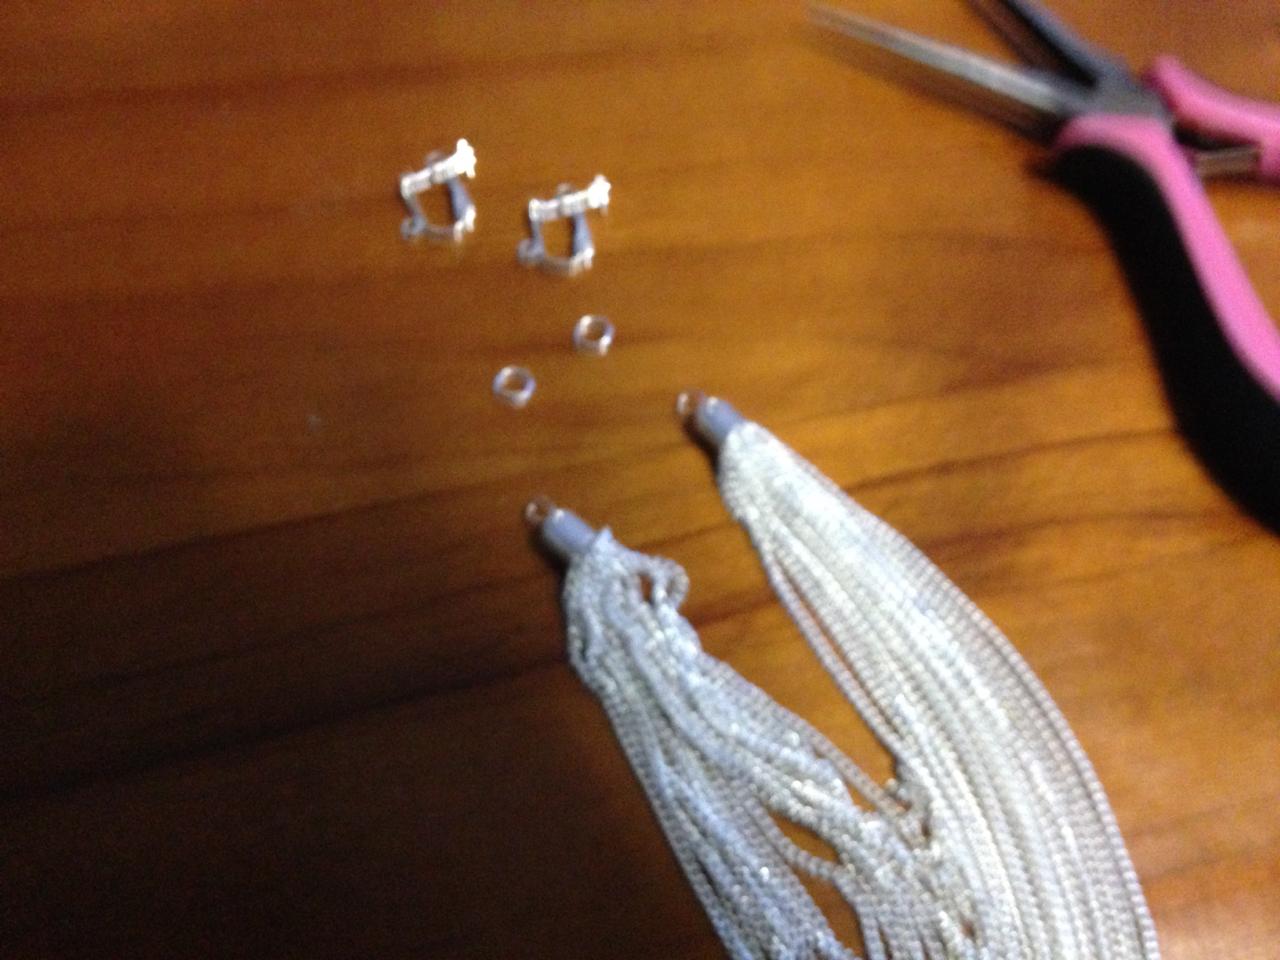
  8. The pair pictured here still have my fingerprints on them

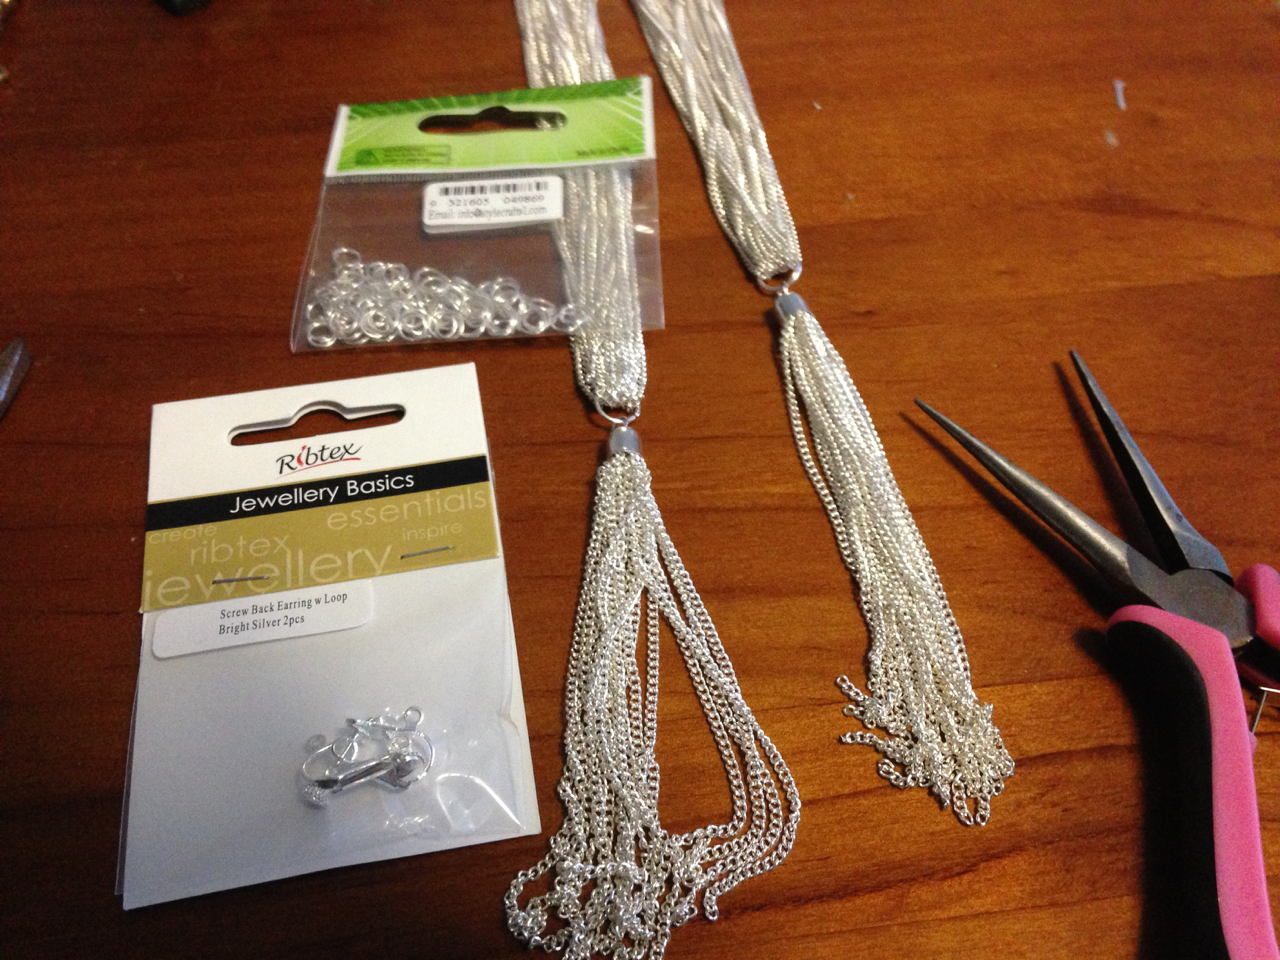
  9. Those tassels were so long, they made shoulder-ticklers all on their own

  10. But they were so easy to assemble - how could I resist?

Not a lot of lessons, here, but quite a lot of earrings got done, so I’m kind of proud. I’m trying for every style of earring plausible with clips, using affordable stuff whenever I can grab it.

Artsy Fartsy part 3! Making things is sometimes a learning process. I learned a lot, today. The Photos: The silhouettes I got were not...

Artsy Fartsy part 3!

Making things is sometimes a learning process. I learned a lot, today.

The Photos:

  1. The silhouettes I got were not reversable and they did not match the finings quite right

  2. I had to use two rings to get them to hang properly

  3. I really prefer not to mess with the loops of these finings as they are often super-breakable. It’s easier to mess with the rings, as they’re made for that nonsense

  4. The beginnings

Read more »

Artsy Fartsy part 2! Disassembly and reassembly. You’d be surprised to learn that the first thing you need to know about making...

Artsy Fartsy part 2!

Disassembly and reassembly. You’d be surprised to learn that the first thing you need to know about making jewellery is how to take it apart. Especially if you’re as cheap as me and don’t like paying more than $15 a gram for beads.

Getting them pre-assembled at the shops is WAY cheaper. The most I paid for any one set of bling was $15.

The Photos:

  1. It’s amazing how nasty

Read more »

I’m doing artsy fartsy stuff! Namely, making a whole bunch of clip-on earrings for someone I admire greatly. Said someone...

I’m doing artsy fartsy stuff!

Namely, making a whole bunch of clip-on earrings for someone I admire greatly. Said someone doesn’t like the idea of pierced ears and I want to show her that holes are unnecessary for wearing cool dangly accessories.

The photos:

1) The tools. I bought the jeweller’s anvil some decades back as a joke and now it’s proved useful because dollar shop jewellery posts are bent as all get-out

2)

Read more »