I’ve learned some things about tumblr, now, so this is a two-parter. Should I make you wait for part 2? We’ll see.
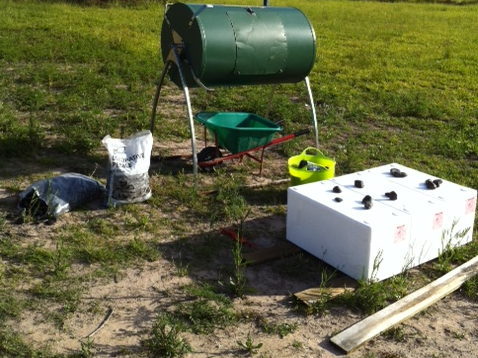
I initially wanted the boxes and setup closer to the washing line [it made sense to me] but hubby put the whole box and dice on some bare-ish earth at the other corner of the house. As you can see from the tool set, it’s going to get weird.
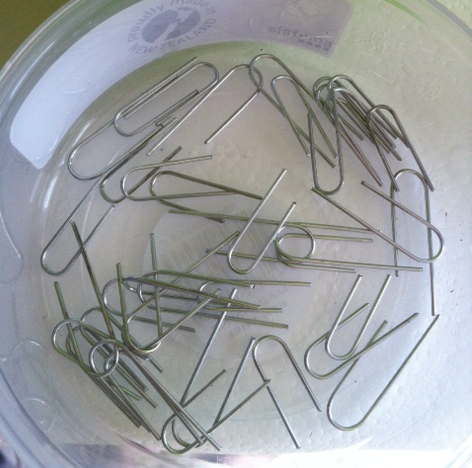
If you don’t want to go to the bother of making staples, you can just use regular staples from your office stapler. I didn’t have any of those that worked, so I went with paperclips.
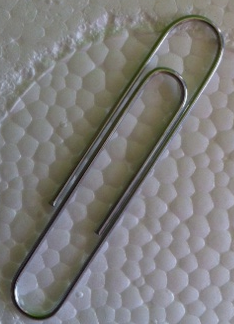
Creative geniuses will tell you the paperclip has over two thousand uses. This is one of them. And how to make it.
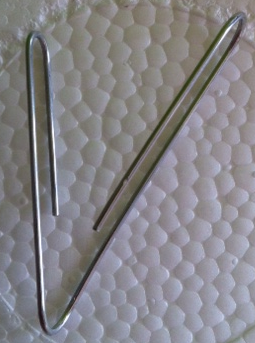
Step one, open a paperclip into a V.
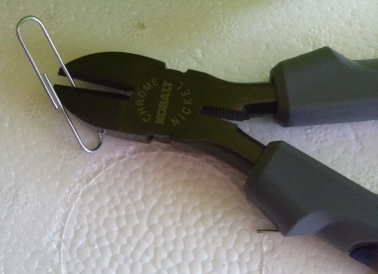
Step two, cut the longest side in half.
Step three, flatten the rest of the paperclip.
Step four, cut the longest side in half. It’s preferable to do the cutting steps inside a walled container so the bits don’t go flying off into inconvenient places.
Step five, Voila! Three planter staples for the price of one paperclip.
Step six, now do all again until your hands are ready to croak.
Then I dragged everything outside, ready to make planter boxes.
Stay tuned for part 2, frugal freedom fighters!
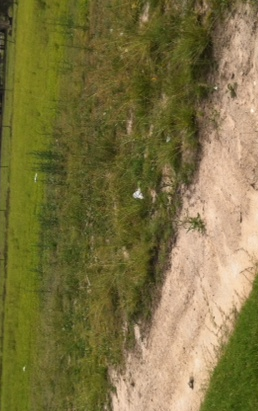
The place I wanted the boxes to go.
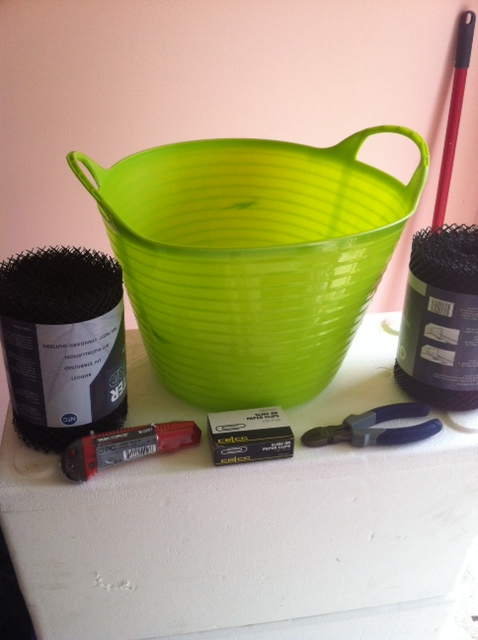
Stuff I'm using to make them
Behold, the humble paperclip
Step 1
Step 2

Step 3

Step 4
Step 5

Step 6
Ready to make some planters(and compost)